CentOS 9:
dnf -y install https://rpms.remirepo.net/enterprise/remi-release-9.rpm
CentOS 10:
dnf -y install https://rpms.remirepo.net/enterprise/remi-release-10.rpm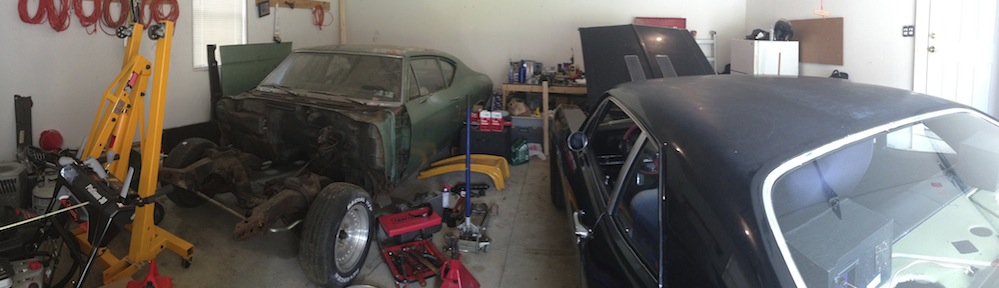
CentOS 9:
dnf -y install https://rpms.remirepo.net/enterprise/remi-release-9.rpmCentOS 10:
dnf -y install https://rpms.remirepo.net/enterprise/remi-release-10.rpmSteps to Securely Erase in Disk Utility
/Applications/Utilities/).Secure Erase Using Terminal
diskutil list.sudo diskutil secureErase [level] /dev/diskX.
Important Notes
dnf module list php
dnf module enable php:8.3
dnf install php php-cli php-common
dnf clean all
dnf update
Credit to https://discourse.pi-hole.net/t/exclude-certain-lan-addresses-from-filtering/2014/6
With the help of reddit, I managed to find a way to bypass the pihole straight to google 8.8.8.8 , It is set up by mac address.
Find the mac address and place this in your /etc/dnsmasq.d/ directory 394.
cd /etc/dnsmasq.d/
wget https://raw.githubusercontent.com/deathbybandaid/piadvanced/master/piholetweaks/dnsmasqtweaks/04-bypass.conf
nano 04-bypass.conf
(replace mac address)
dnsmasq --test
(tests the configuration)
sudo service dnsmasq restart
Orsudo reboot
It would be awesome to do something like this via the webui!
In order to force safari history syncing between your iPad/iPhone and Mac, you will need to first enable the “debug” menu.. This is not to be confused with the “Develop” menu, which you can enable in Safari’s settings. Make sure you have also selected “safari” within your iCloud account settings on all devices you want to sync.
1st, close safari completely with Command-Q (or whatever your preferred method is)
2nd, go to ‘System Preferences > Security & Privacy > Privacy > Full Disk Access’ and add Terminal.
3rd, within Terminal, execute ‘defaults write com.apple.Safari IncludeInternalDebugMenu 1′ (without the quotes’
4th, launch Safari, and on the newly created “Debug” menu, choose ‘Sync iCloud History’
You should know see your synced history between that Mac and your iOS devices!
Credit to the source of this article
There’s no GUI option to export an OVA (Open Virtual Appliance) format VM in VMware fusion, but there is a command-line method. Use the OVF tool. The following provides a command-line synopsis.
$ cd /Applications/VMware\ Fusion.app/Contents/Library/VMware\ OVF\ Tool/
$ ./ovftool –acceptAllEulas \
> /Users/me/Documents/Virtual\ Machines.localized/TheVM.vmwarevm/TheVM.vmx \
> ~/Desktop/TheVM.ova
Opening VMX source: […]
Opening OVA target: […]
Writing OVA package: /Users/me/Desktop/TheVM.ova
Yes, winter is coming back to the Northeast.. I sincerely hope we have an ‘easy’ winter after last years record snow totals.. Here is a parody done by a local radio show last year to sum up how I will definitely be feeling soon!
Credit to Greg and the Morning Buzz!
A couple pictures from this day in 2011!
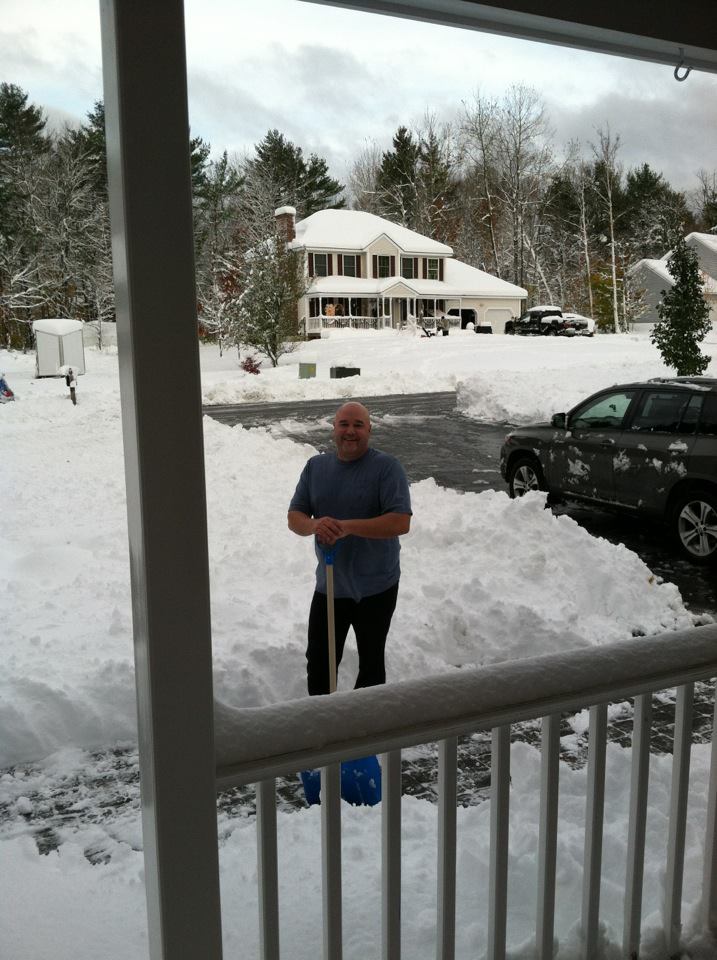
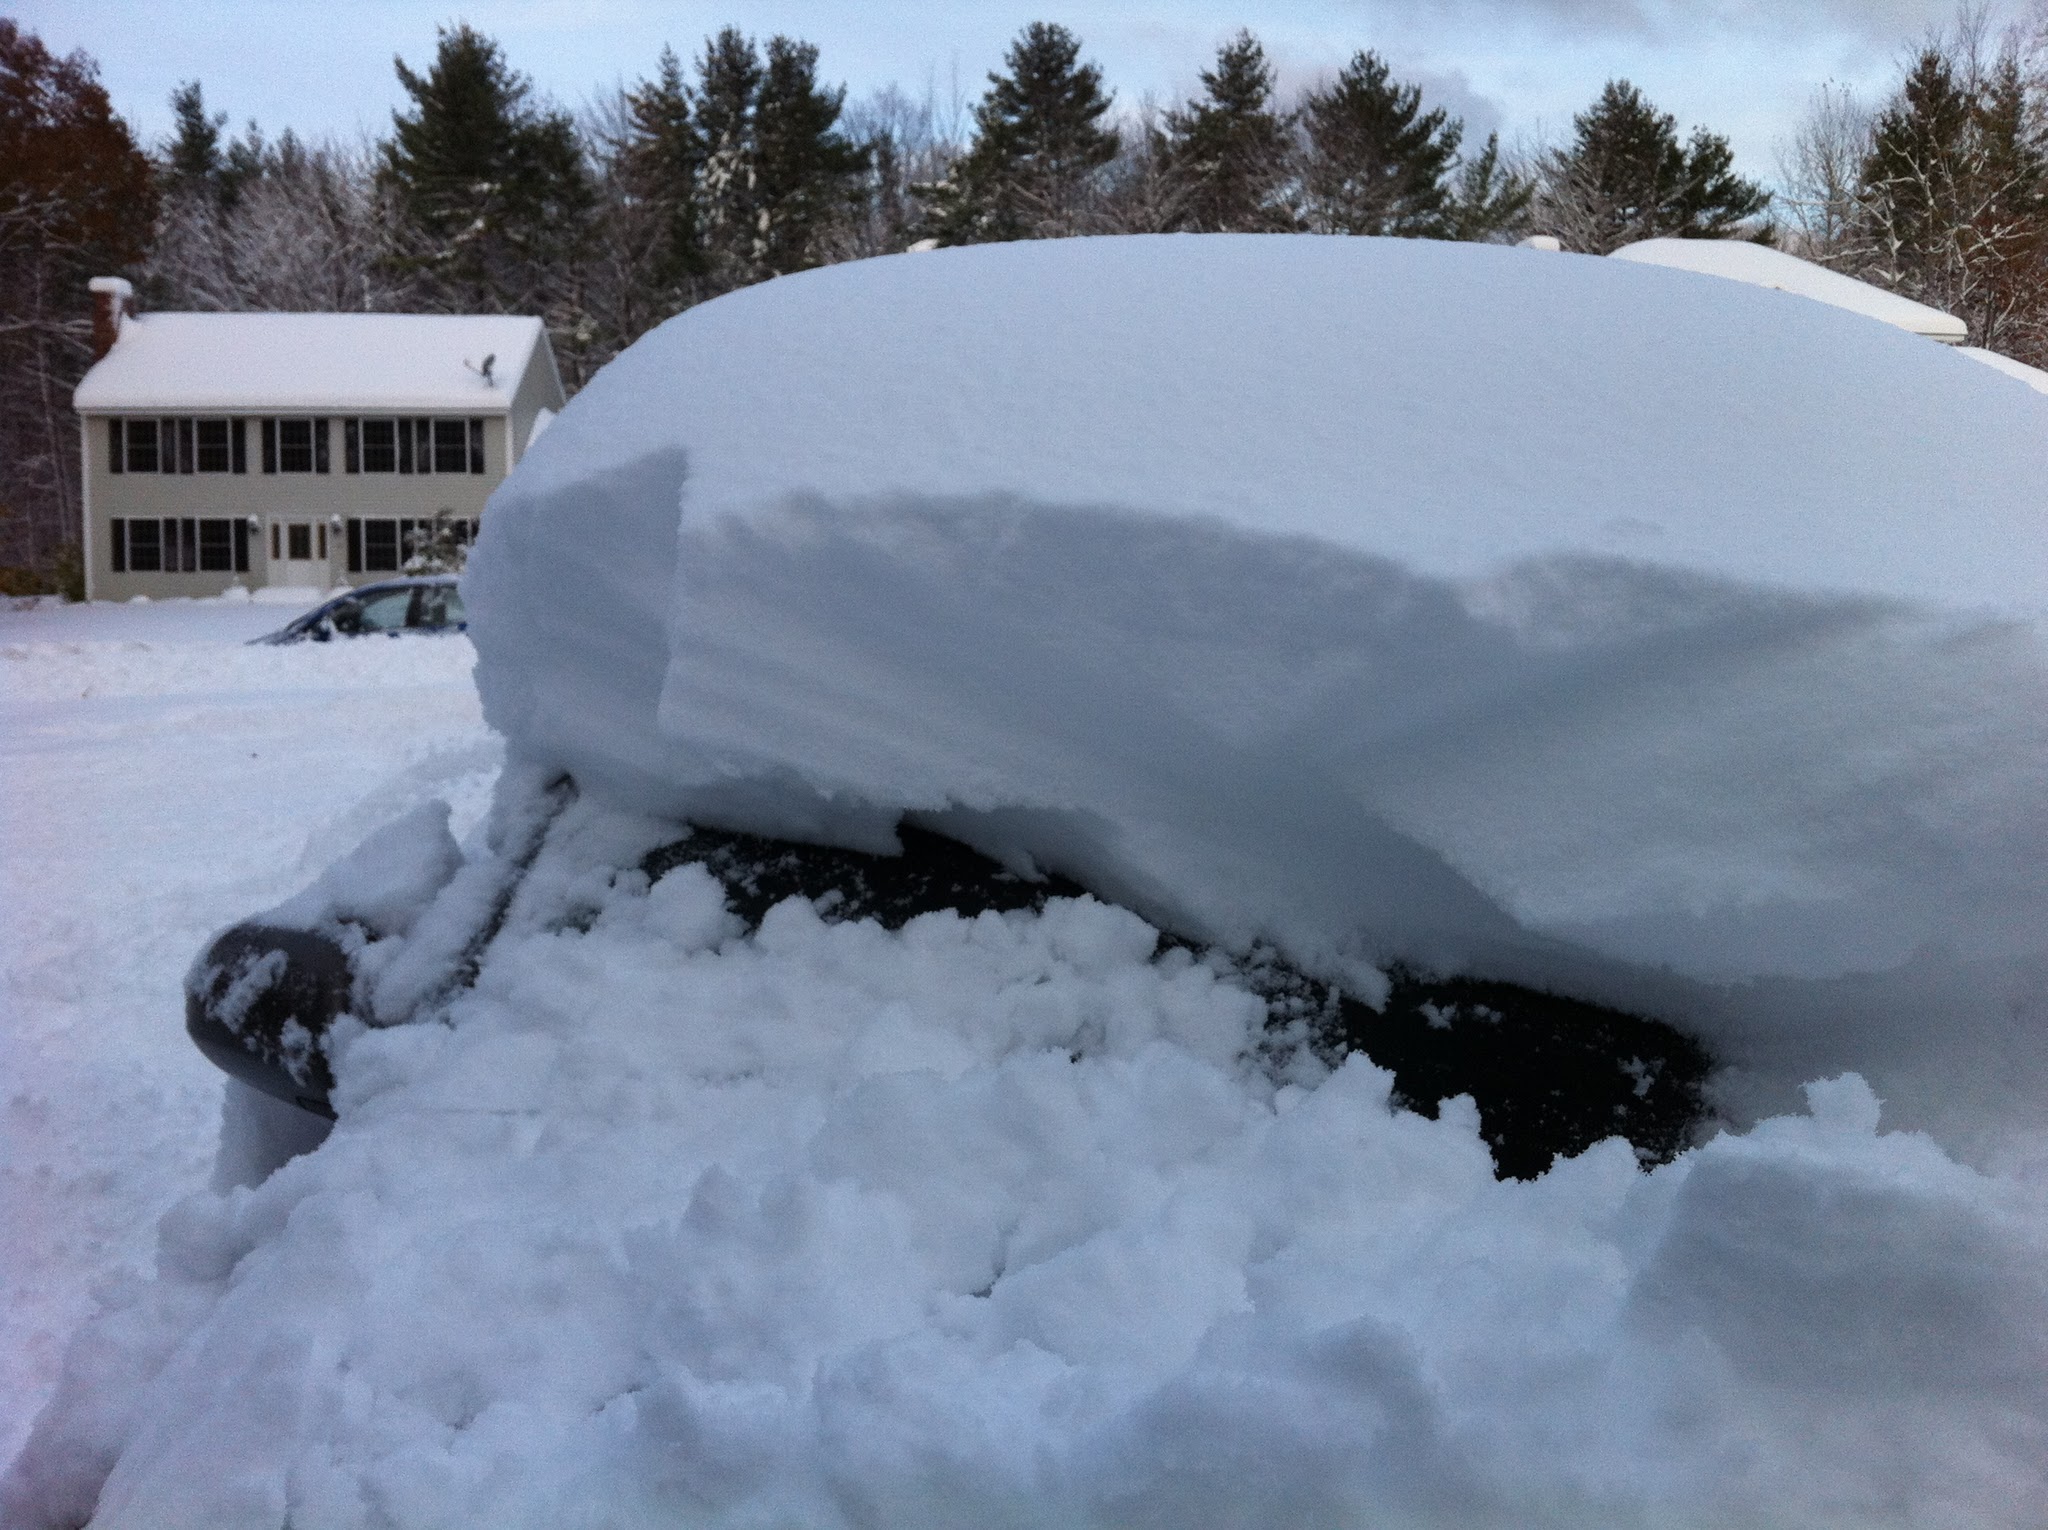
I have a hard time with ‘global warming’ when we have winters like this.. Already the snow banks are up to my shoulders, and in the middle of a cold snap with overnight lows well below zero, and daytime highs barely reaching double digits!
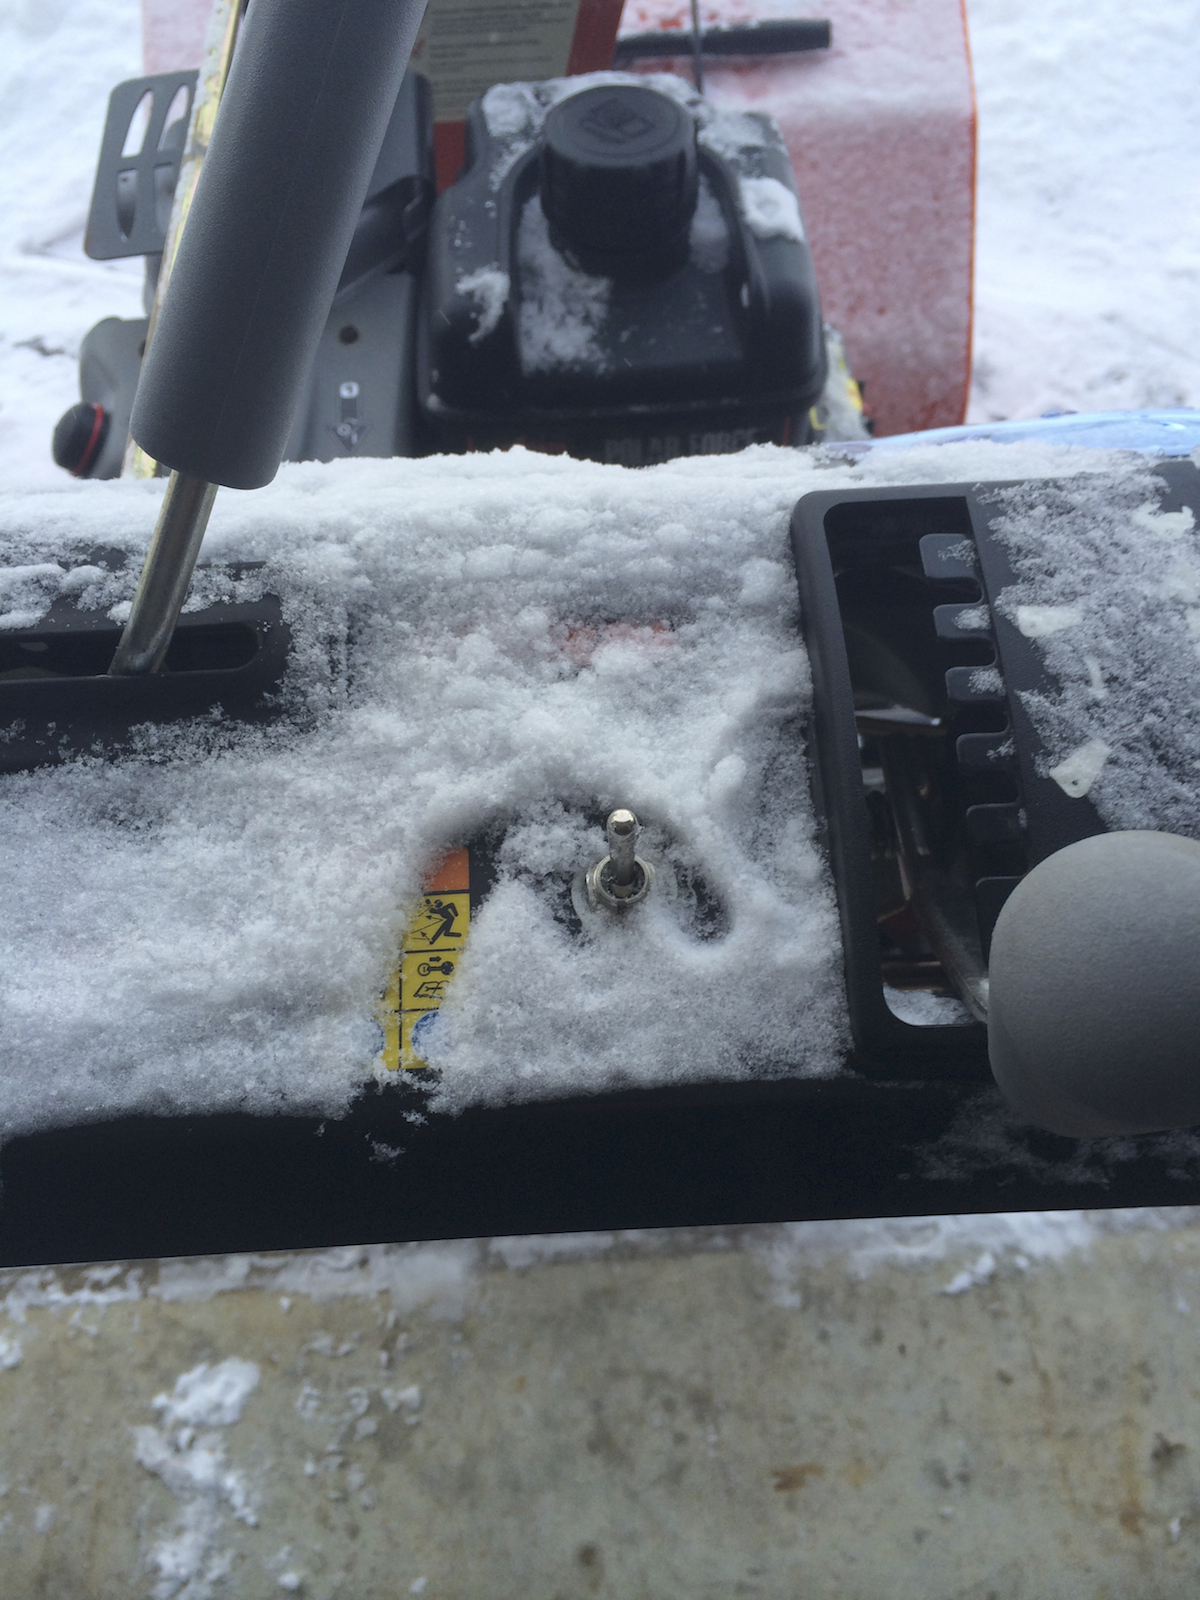
Its so cold, that for the first time since I purchased it, I actually used the hand warmers on my Arien’s snow blower!
For a moment, just for a moment, I was thinking this had to be a video where a honda pulls something out to beat the chevelle.. But then I realized that is just crazy talk!
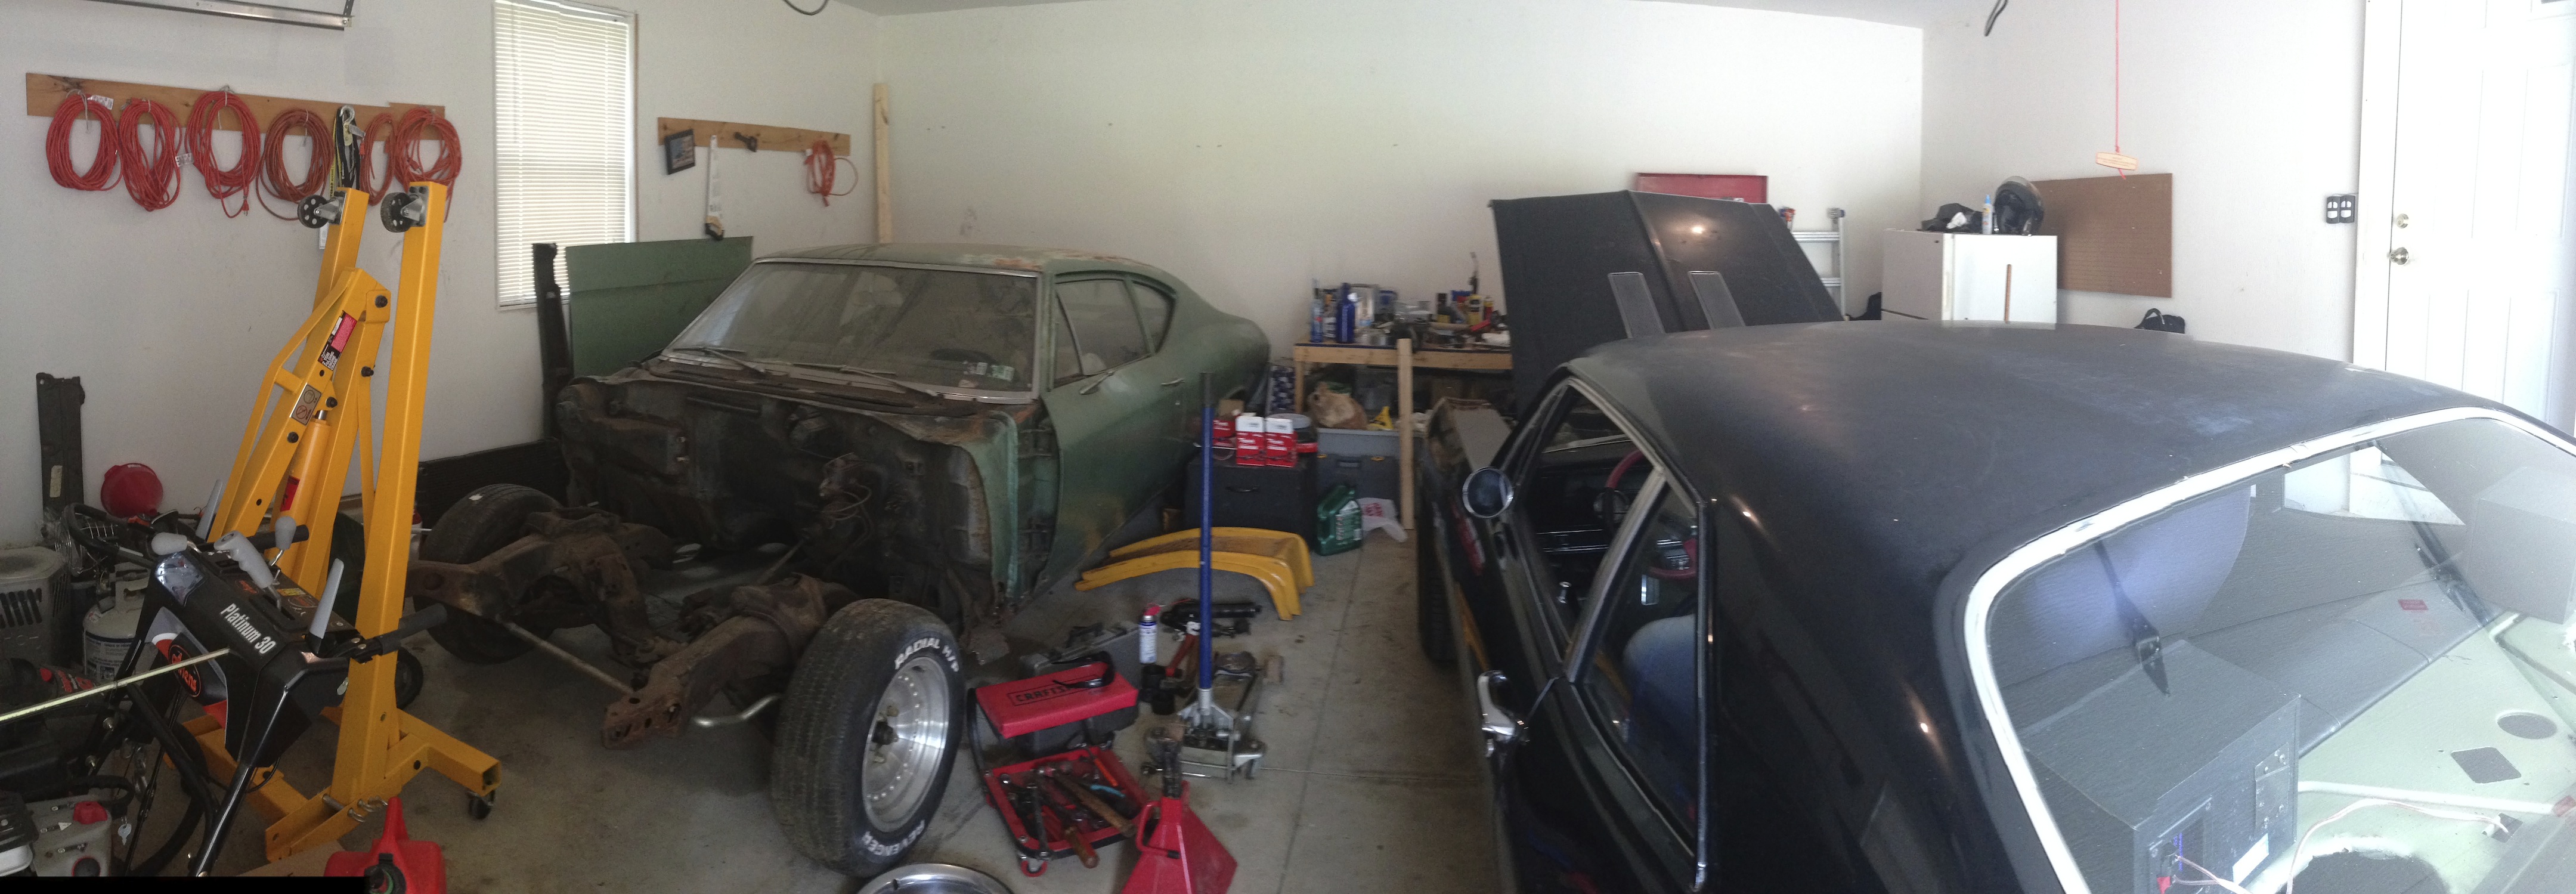
Admittedly, I have not had the time to spend in the garage so far this summer as I would like.. Unfortunately, as happens too often, life gets in the way.
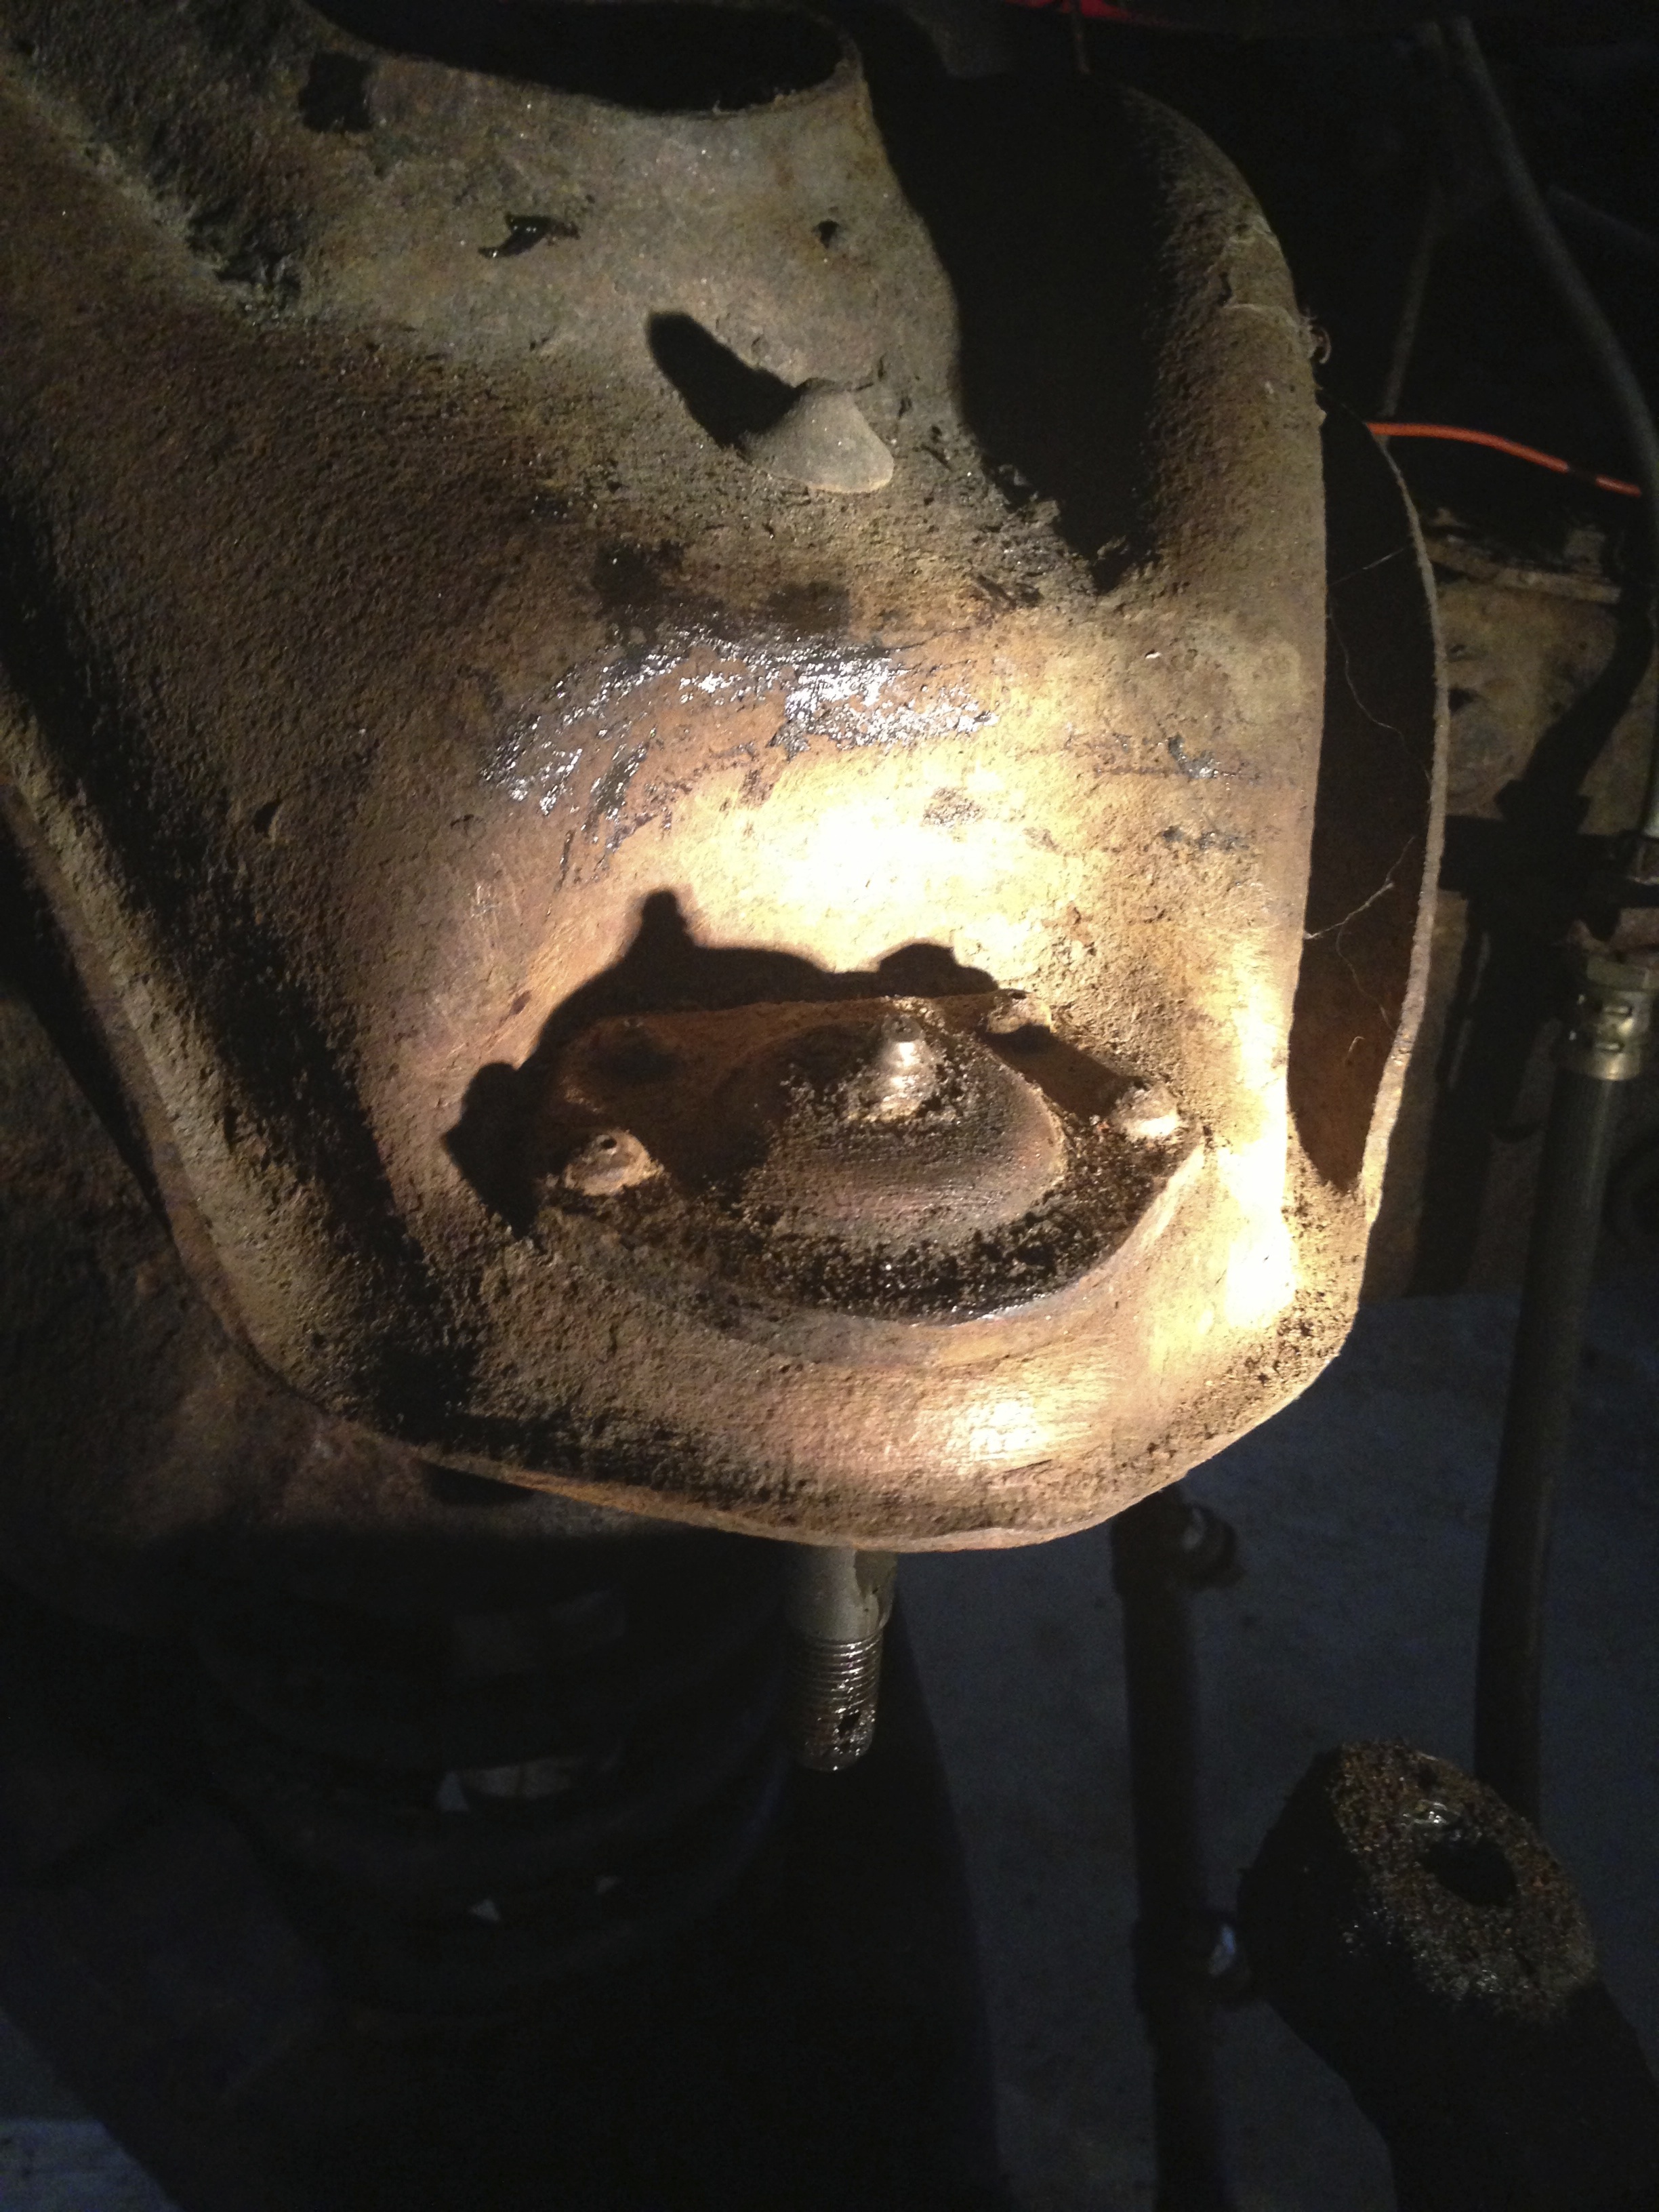
But this past weekend I finally got to spend some ‘me’ time doing what I love the most, wrenching on real musclecar’s. My brother in law needed a little work on his 69 Nova.. He needed a ball joint replaced and had a problem in the charging system.
When it comes to GM muscle cars, I have always believed in replacing all 4 at the same time (unless of course any have been recently replaced). Turns out the one that was worn to the point of being a safety concern, was an aftermarket unit.. the other 3, which were showing only a minor amount of wear, were the factory joints! I was shocked to say the least!